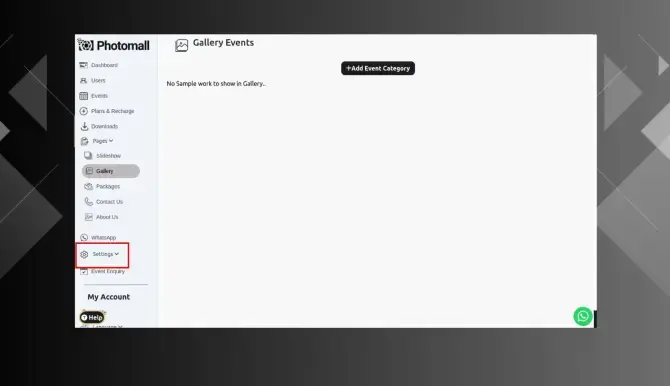
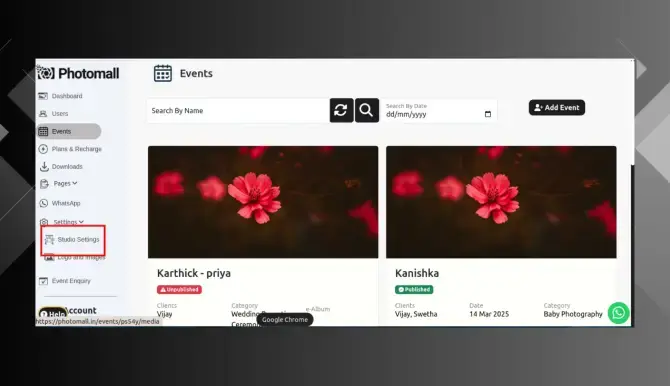
Step 2: Dropdown will appear in that select studio settings.
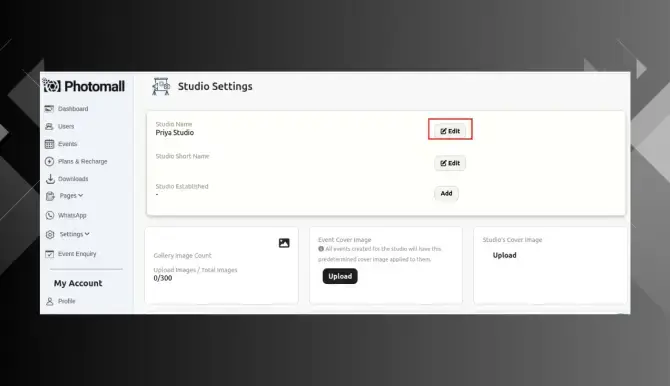
Step 3: You can edit your studio name by clicking edit option
Step 4: Popup will appear edit your Studio name and click submit.
Step 5: If you want to add a short name for your studio, click the Edit option.
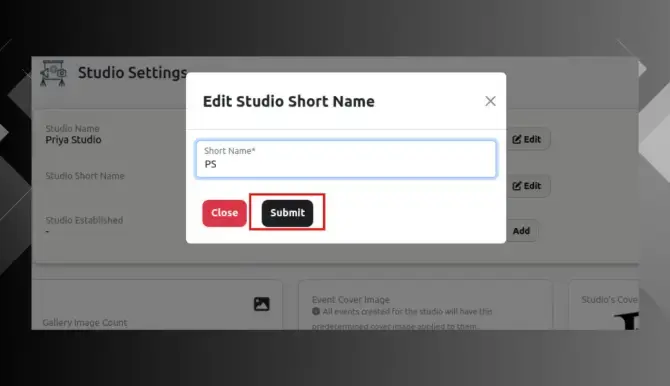
Step 6: Edit your studio short name and click submit.
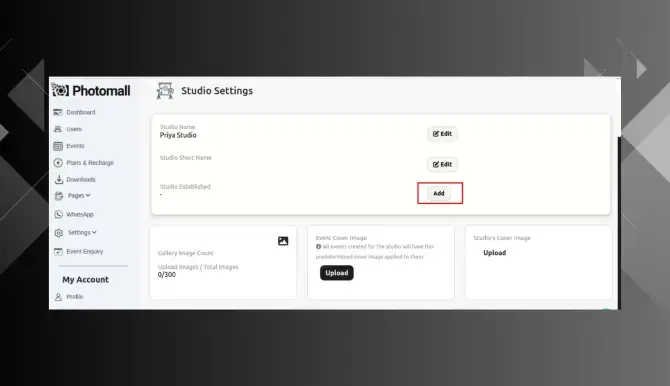
Step 7: To add your studio's established year, click the Add button.
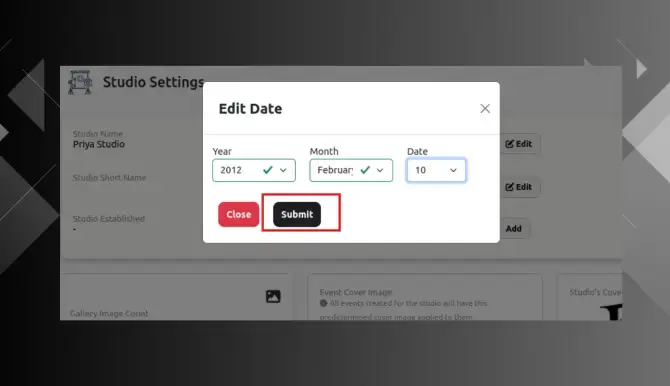
Step 8: Give your established year , month , date and then click submit.
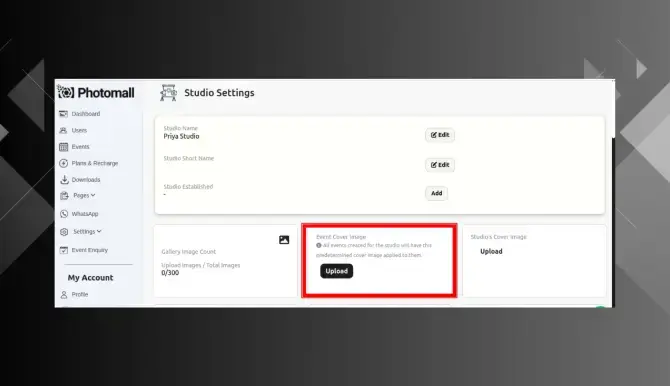
Step 9: Event Cover Image - All events created for this studio will have this default cover image applied to them.
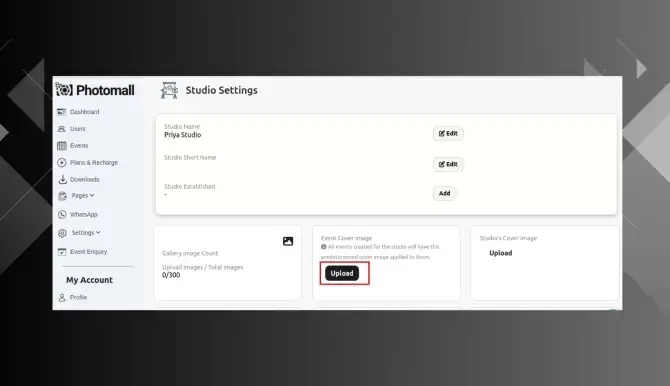
Step 10: Click Upload to add the cover image.
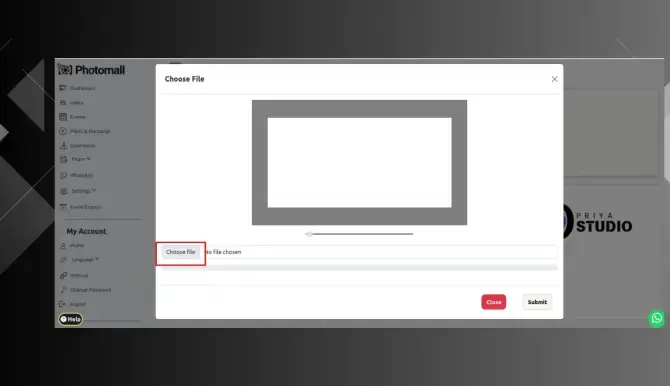
Step 11: Upload the photo from your folder by clicking choose file option.
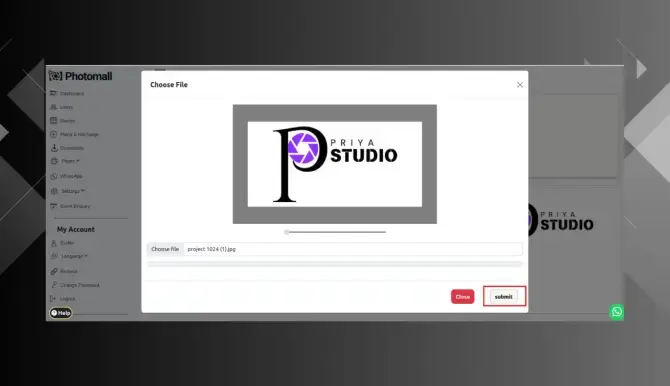
Step 12: Once image upload click submit .
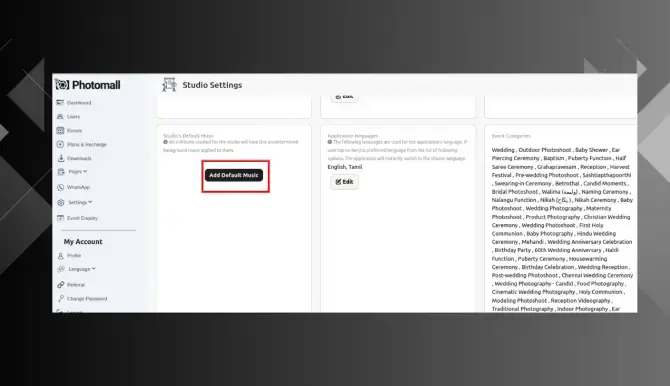
Step 13: Studio's Default Music - All e-Albums created for the studio will have this default background music applied to them. You can also edit the default music for each e-Album By clicking Add default music .
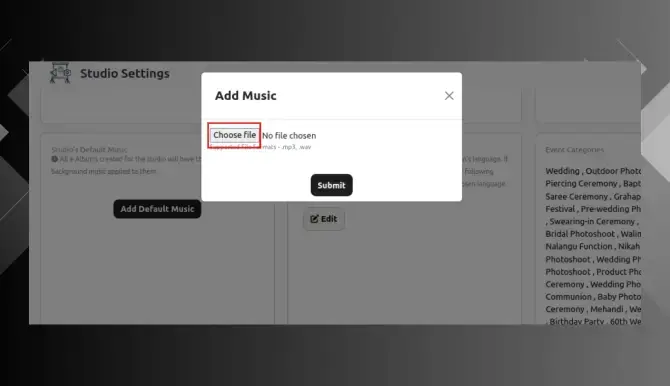
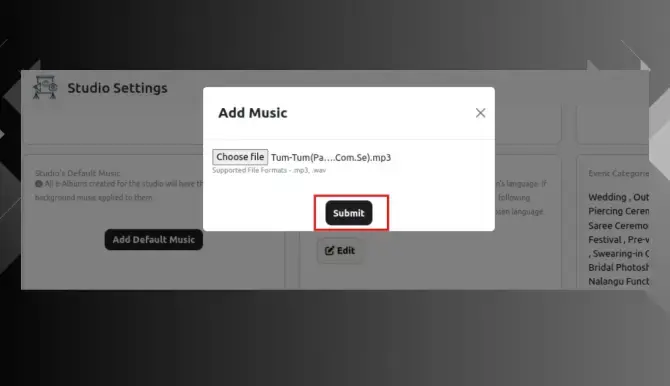
Step 14: Pop up will appear click choose file option.
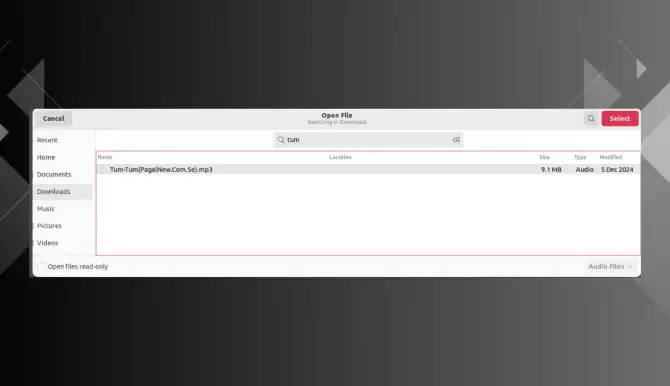
Step 15: Upload the music from your folder.
Step 16: Click submit button.
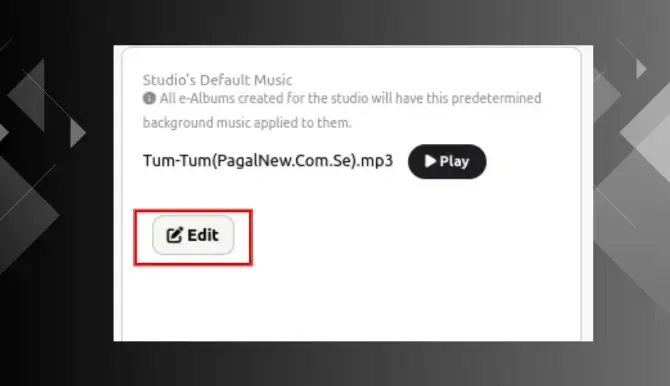
Step 17: The music will be uploaded. If you want to change it, you can edit it.
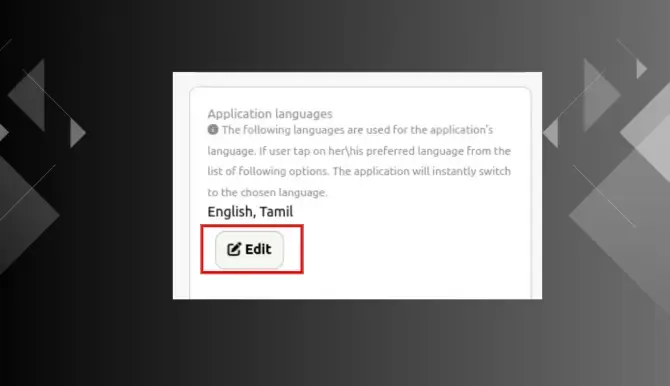
Step 18: The application will instantly switch to the chosen language.
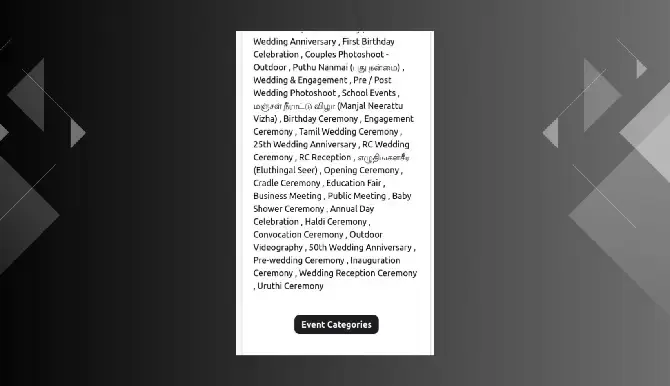
Step 19: If you want to add some other event category, click the 'Event Categories' button and add it.
Step 20: Create Demo event - A sample event can be created for the app users which can be viewed even without login. Note: This is the default settings for all the events created. You can also edit the event setting individually
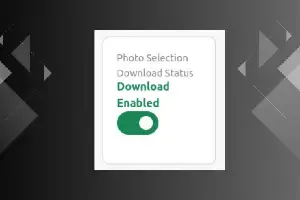
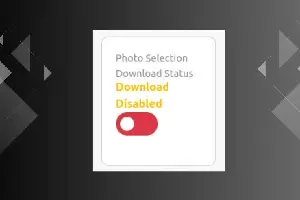
Step 21: Photo Selection Download Status Enable - Photos in the photoselection folder can be downloaded. Disable - Photos in photoselection folder cannot be downloaded.
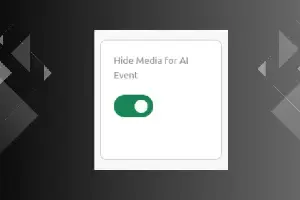
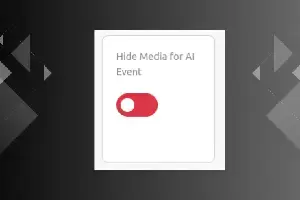
Step 22: Hide Media For AI Event Enable - All the photos in media folder will will be visible. Disable - Only My Photos in media folder will be visible.
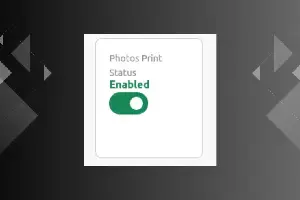
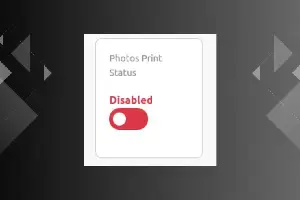
Step 23: Photos Print Status Enable - Printing option is shown and customers are allowed to select photos from media for printing. Disable - Printing option is hidden.
Step 24: Login OTP for customers will be displayed.
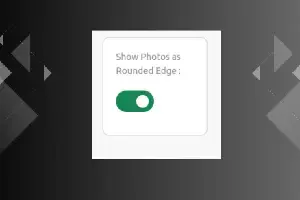
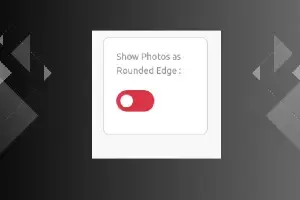
Step 25: Show Photos as Rounded Edge Enable - All uploaded photos appear with rounded edges. Disable - Edges will be hidden or display photos with straight edges.