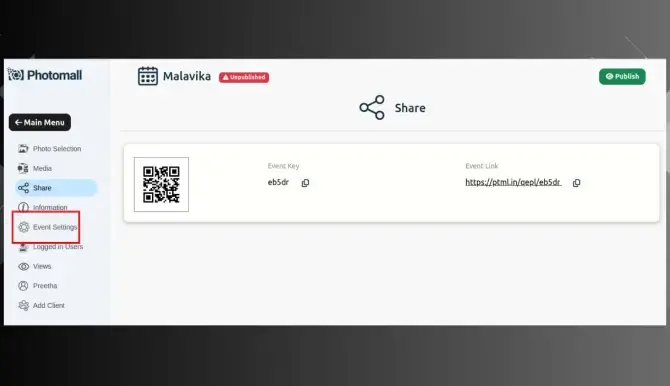
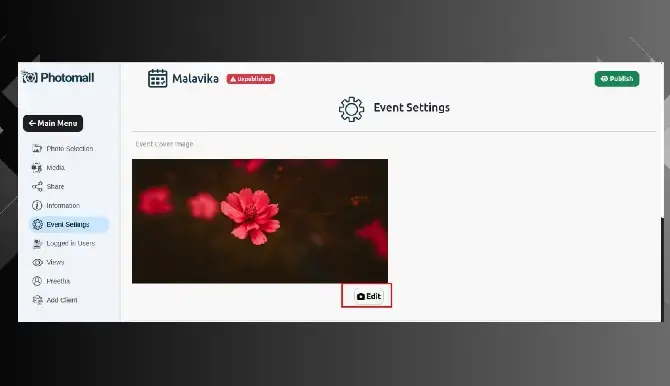
Event Settings
- Step 1: Go to the Event Settings page where you can change the Event Cover image and configure various options for the event.
- Step 2: To Change the cover image click edit button .
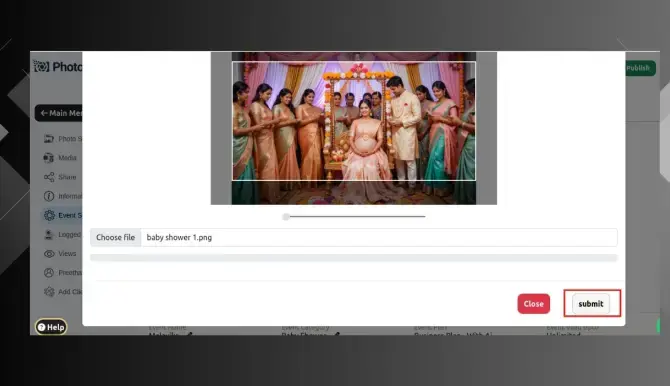
- Step 3: Click ‘ Choose file ‘ to upload the cover image.
- Step 4: Once image successfully upload click ‘submit’ button.
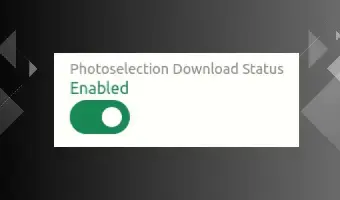
- Step 11: Photo Selection Download Status
Enable - Photos in the photoselection folder can be downloaded.
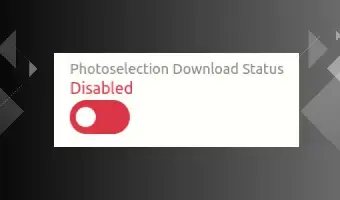
Disable - Photos in the photoselection folder cannot be downloaded.
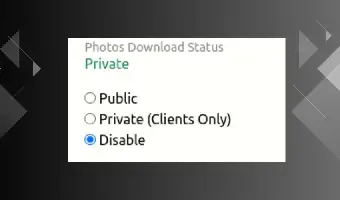
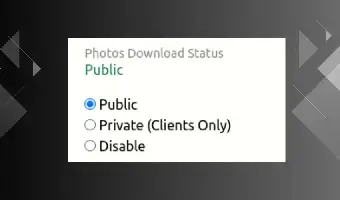
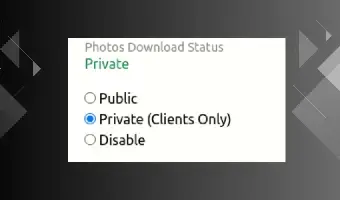
- Step 5: Photos Download Status
Public - Photos in the media folder can be downloaded and shown to all who attend the event.
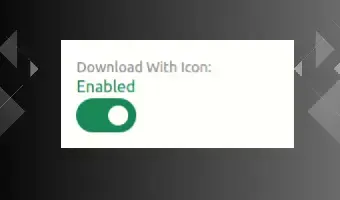
- Step 6: Download with Icon and Watermark
Enable - Photos will be downloaded with icon and watermark..
Disable - Photos will not be downloaded with icon and watermark.
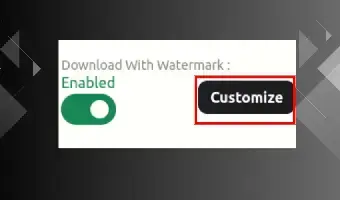
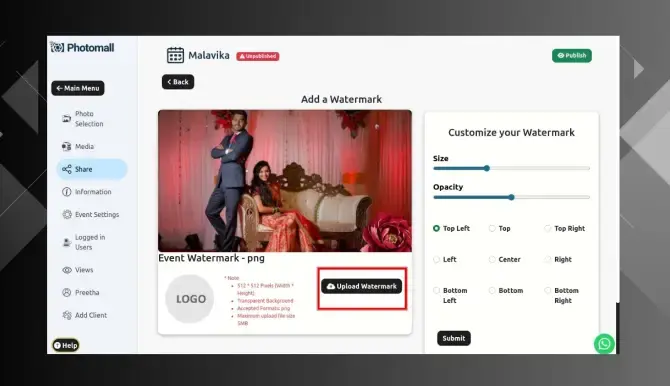
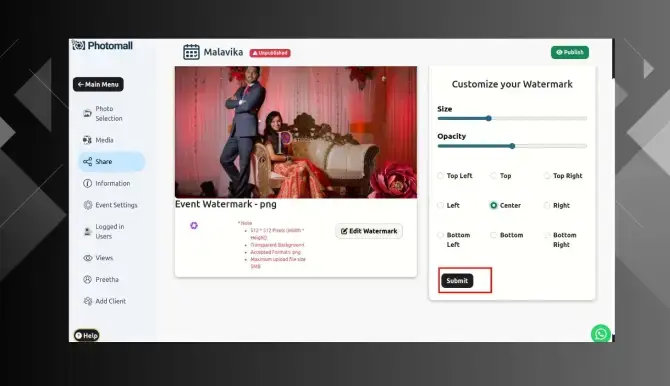
- Step 7: Click Customize button.
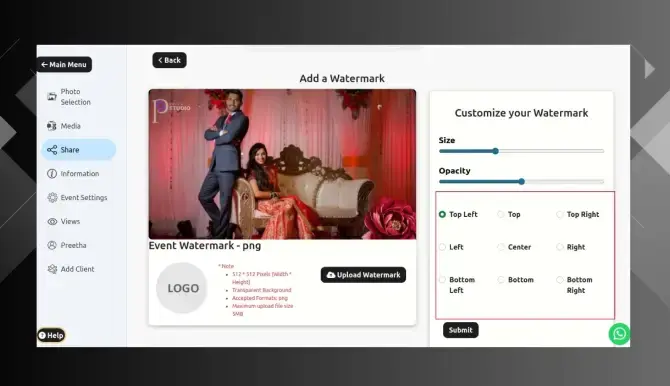
- Step 8: After clicking the Customize button, click the ‘Upload Watermark option‘.
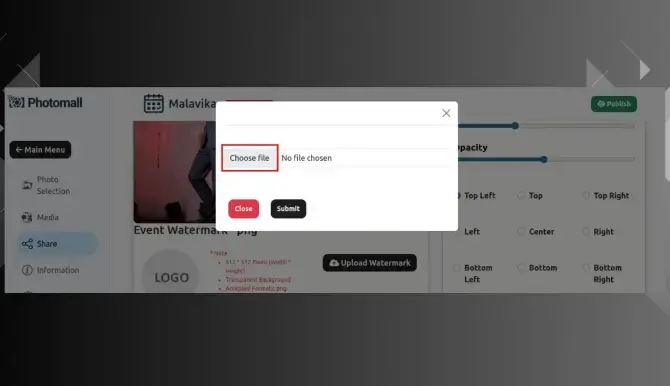
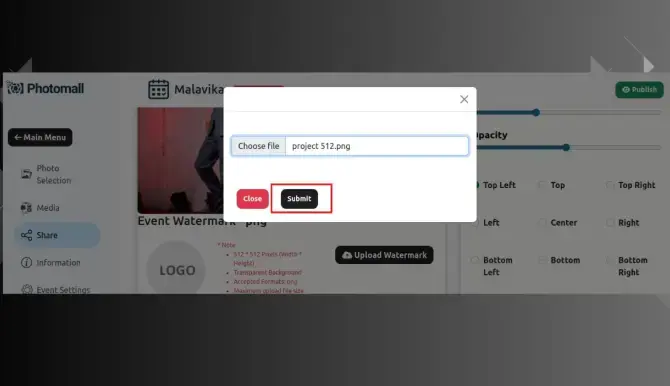
- Step 9: Click choose file option and upload your logo.
- Step 10: And then click submit.
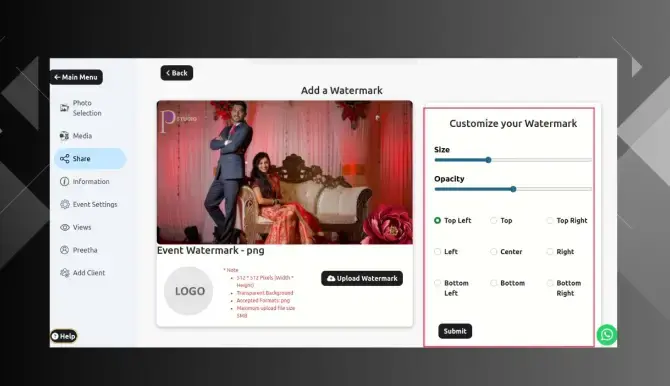
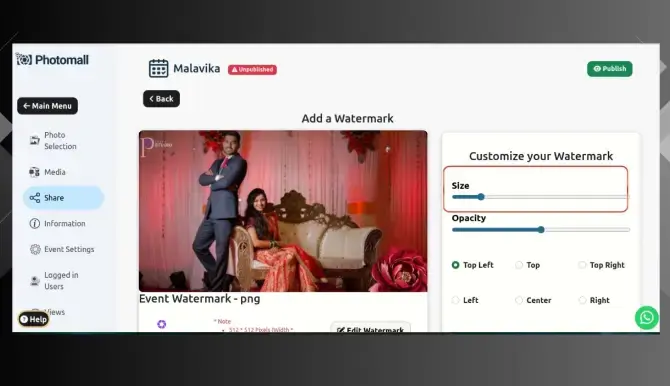
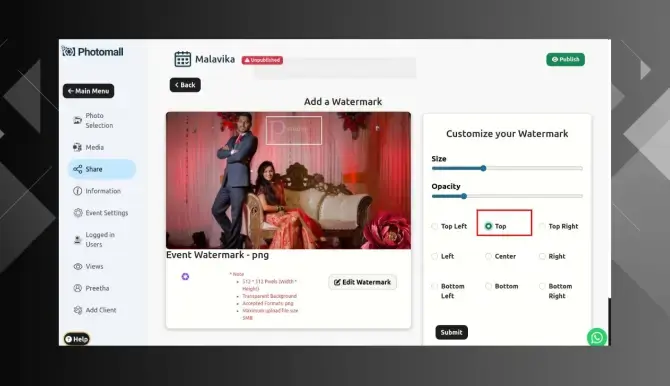
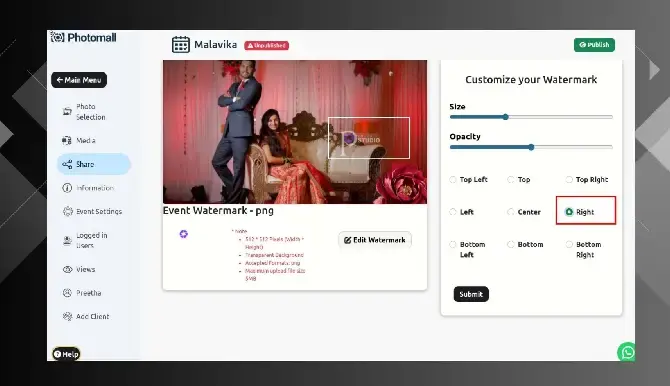
- Step 11: On the right side, there is an option to customize your watermark.
- Step 12: You can adjust the size and reduce the watermark as needed.
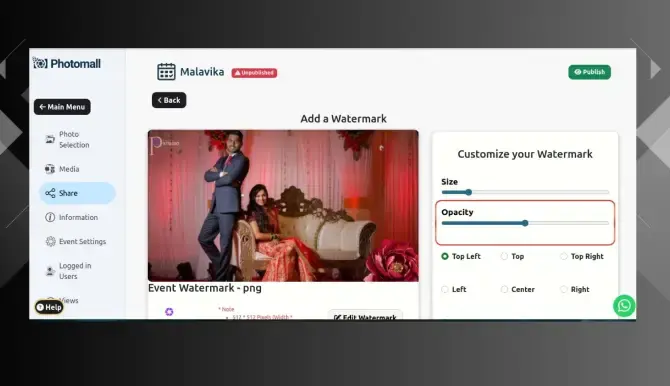
- Step 23: And you can also reduce the opacity of your logo.
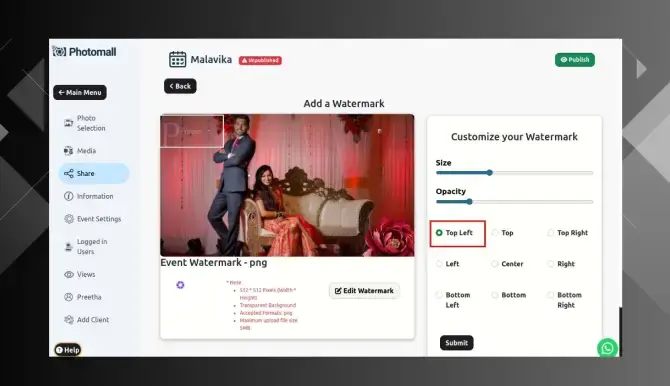
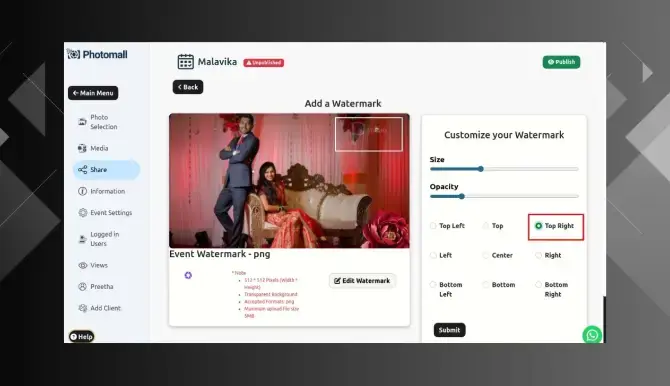
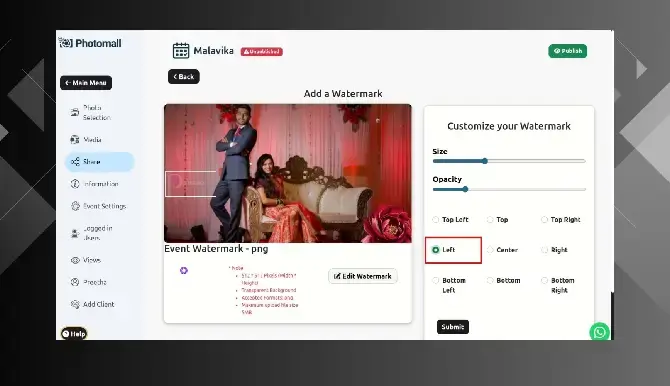
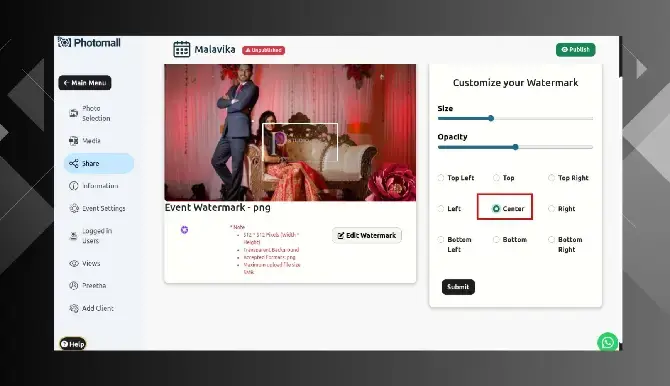
- Step 14: You can choose where to place the logo on the photo.
- Step 15: If you choose "Top Left," the logo will be placed in the top left corner.
- Step 16: "Top" - The logo will be placed at the top corner.
- Step 17: "Top Right" - The logo will be placed at the top right corner.
- Step 18: "Left" - The logo will be placed at the left side.
- Step 19: "Center" - The logo will be placed at the middle of the image.
- Step 20: "Right" - The logo will be placed at the right side of the image.
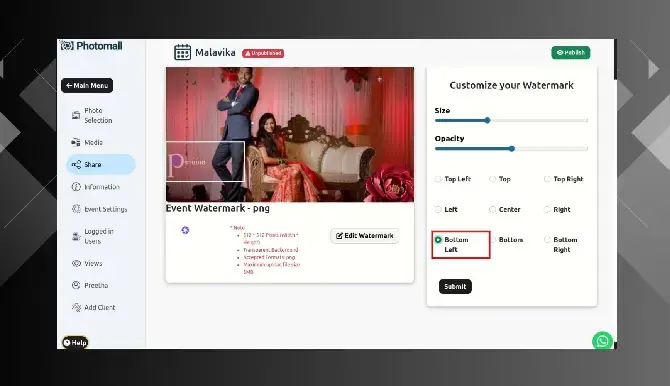
- Step 21: "Bottom Left" - The logo will be placed at the bottom left corner.
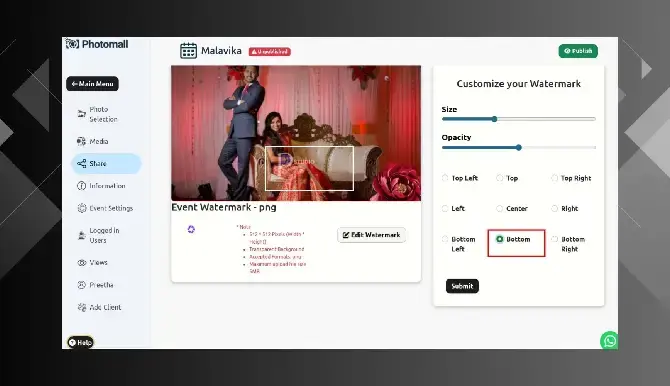
- Step 22: "Bottom" - The logo will be placed at the bottom.
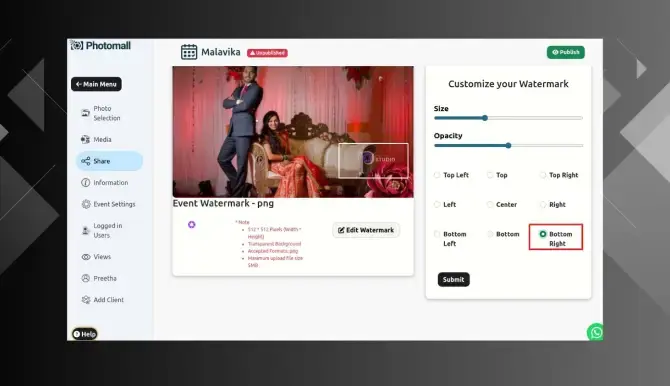
- Step 23: "Bottom Right" - The logo will be placed at the bottom right corner.
- Step 24: Once you have positioned the logo, click ‘ Submit ‘.
- Step 25: AI Status
Enable - AI Enabled event.
Disable - AI Disabled event.
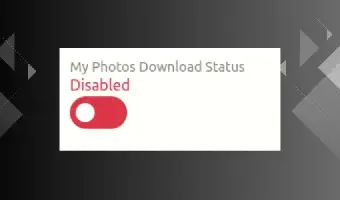
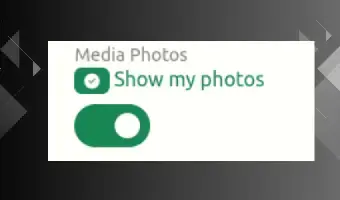
- Step 26: Media Photos
Enable - Only My Photos in media folder will be visible.
Disable - All the photos in media folder will be visible.
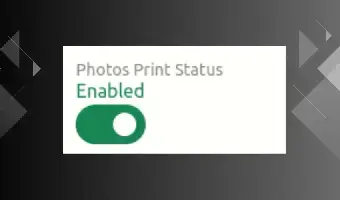
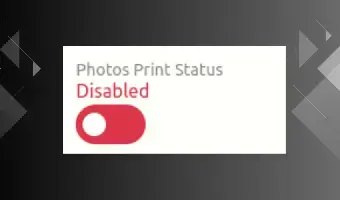
- Step 27: Photos Print Status
Enable - The printing option is displayed, allowing customers to select photos from the media folder for printing.
Disable - Printing option is hidden.
- Step 28: You can also change your display name by clicking the Edit option.
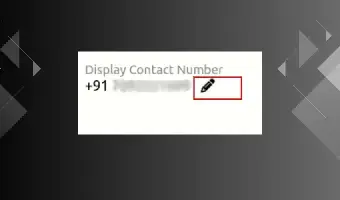
- Step 29: To change your display mobile number, click the Edit option.
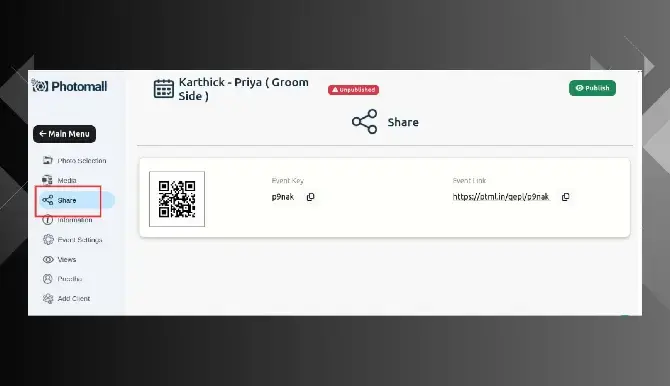
- Step 30: If you want to give separate photo selections for the bride’s and groom’s families, you can link them using the Copy Event option.
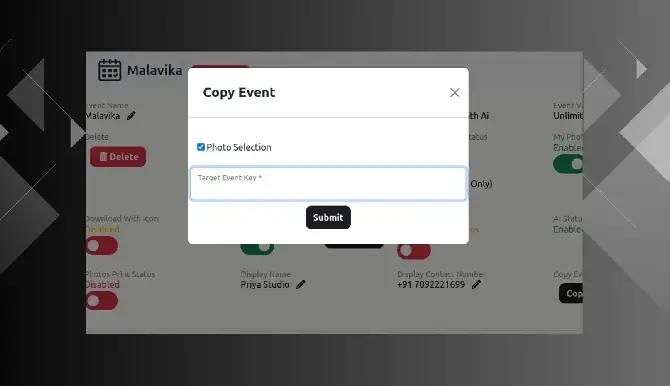
- Step 31: Copy the event key of the photo selection you want to give to the bride's or groom's side and paste it into the Target Event Key field.
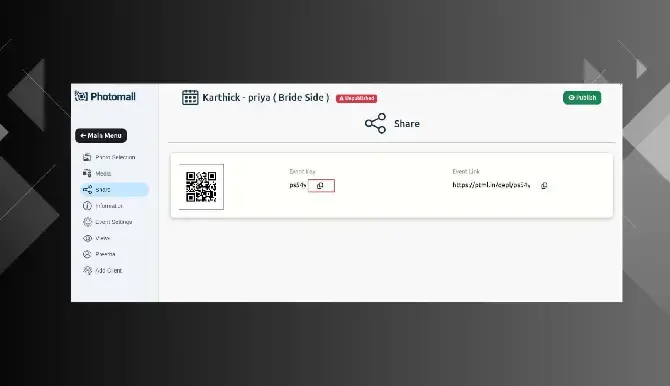
- Step 32: To copy the event key, go to the specific event you want, and click the Share option.
- Step 33: And copy the event key by clicking the Copy option.
- Step 34: Paste the event key and click the Submit button.

Private (Clients Only) - Photos in the media folder can be downloaded and shown only to the specific client.
Disable - Photos in the media folder cannot be downloaded and not shown to anyone.