Turn Every Event Photo Into a Live Moment on the Big Screen
The moment a photographer uploads a photo through the Photomall Event Manager app or the web browser, it appears live on your event's LED screen or projector — no waiting, no manual selection, no delay.
This is an add-on feature that works alongside Photomall's existing QR code photo delivery — guests continue to scan and download their photos as usual, while the big screen brings the event alive in real time for everyone to enjoy.
Add Live Photo Display to Your Event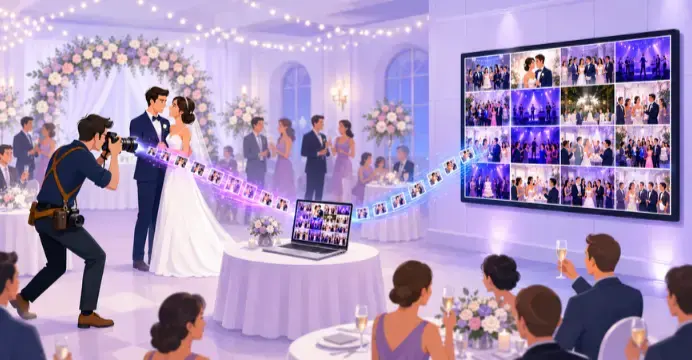
How It Works
Four simple steps from click to big screen
Photographer clicks & uploads
Photos are uploaded instantly through the Photomall Event Manager app, or through web browser on a laptop/computer at the venue.
Screen connects to the internet
Connect your screen (LED wall, TV, or projector) to the internet using Wi-Fi or a device like a smart TV, streaming stick, or laptop. Then open your event's Live Photo Display link in that device's browser — this starts the live feed on your screen.
Photo appears on screen instantly
Once the screen is connected and the link is open, every new photo uploaded shows up live for all guests to see.
Why Live Photo Display
Real-Time Display
Photos go from camera to screen within moments, keeping the energy alive throughout the event.
Shared Experience for Everyone
Beyond scanning the QR code for their own photos, guests also get to see the whole event's moments unfold together on the big screen, live.
Zero Manual Work
Enable Live Photo Display once. Every new uploaded photo appears on the big screen instantly, without anyone pushing photos one by one.
How to Connect Your Live Photo Display
A simple setup guide for photographers — from uploading photos to displaying them live on any screen at your event.
Setting Up Live Photo Display
Upload Photos
Take photos as usual and upload them using the Photomall Event Manager app or a web browser
Turn On Live Photo Display
Go to event settings and turn on Live Photo Display. A link is created automatically on your Share page.
Open the Link
Copy the link and open it in any browser on the screen you want to use — a TV, laptop, or projector.
Connecting Your Laptop to a TV, LED Wall, or Projector
Choose whichever option matches your venue's setup
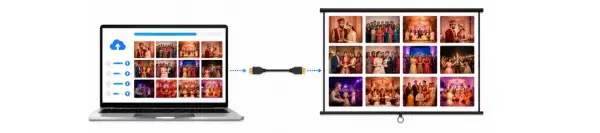
HDMI Cable
The easiest way. Connect your laptop to the TV or projector using an HDMI cable. If your laptop doesn't have an HDMI port, use a USB-C to HDMI adapter. For older projectors, use a VGA cable instead.
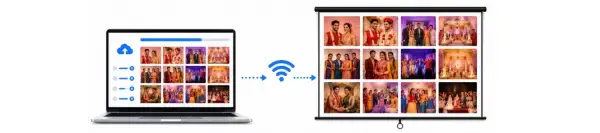
Wireless Screen Mirroring
If your TV supports Wi-Fi casting, you don't need any cable. On Windows, go to "Connect to a wireless display." On Mac, use "Screen Mirroring"
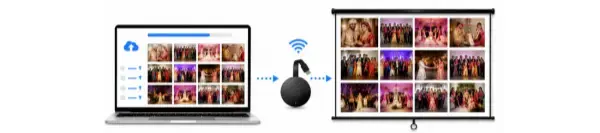
Chromecast or Fire TV Stick
If your TV or projector is not "smart," plug in a Chromecast or Fire TV Stick. Then cast the Live Photo Display link from your laptop or phone.
Live Photo Display – Auto Upload, No Manual Refresh Needed
When photos are uploaded to the event, the Live Photo Display updates on its own. You don't need to refresh the page or click anything. As soon as a new photo is uploaded, it shows up automatically on the screen.
This means your guests always see the latest photos in real time without anyone having to manually reload the page. It just works in the background, keeping the display fresh and up to date throughout the event.
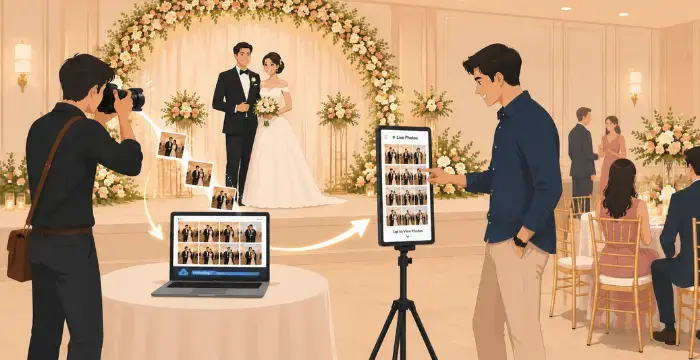
Your Event, Live on Screen
The moment a photo is uploaded, it appears live on the display screen at your venue — no waiting, no manual work.
Guests can scroll through the screen to relive the moments, then scan the QR code below their photo to download it instantly.
Perfect For
Key Highlights
Instant live display, synced with Event Manager app or browser uploads
Works with any LED screen, TV, or projector connected to the internet
No extra hardware or software setup needed at the venue — just an internet connection and a browser
Only event photos are shown — private guest galleries remain secure
Frequently Asked Questions
What is Live Photo Display?
Does this replace QR code photo delivery?
What equipment do I need to use Live Photo Display?
How does the screen actually connect and start displaying photos?
Will guest photos also show on the live screen?
Which events is this best suited for?
Ready to Bring Your Event to Live on the Big Screen?
Set up Live Photo Display alongside your existing QR code photo sharing and give every guest at your wedding, corporate event, or celebration a big-screen moment they won't forget.
Add Live Photo Display to Your Event