How to Create a Google Business Profile for Your Photography Business (Step-by-Step)
Last updated: · 3 min read
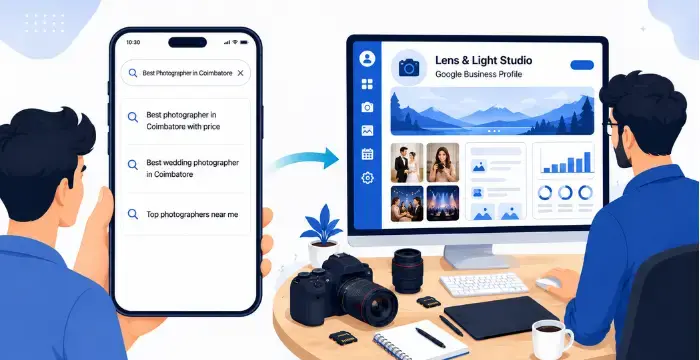
If you're a photographer, your next client is probably searching "photographer near me" or "wedding photographer in [city]" on Google right now. A Google Business Profile is what makes you show up in that search, for free. Here's exactly how to set one up, step by step.
Go to Google Business Profile
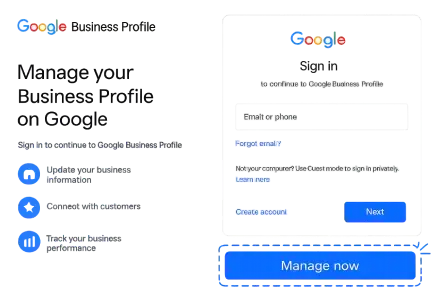
Visit google.com/business and click "Manage now." Sign in with the Google account you want to use for your business (create a separate one if you don't want to mix it with your personal account).
Add Your Business Name
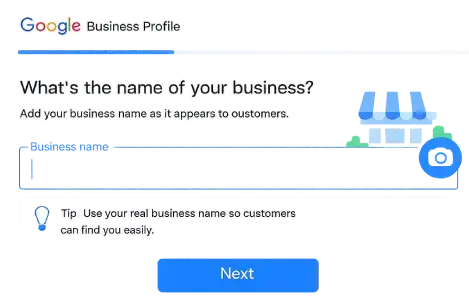
Use your actual studio or brand name, not a generic term. Example: "Lens & Light Studio," not just "Photographer." This is what clients will search for and see on Maps.
Choose Your Business Category
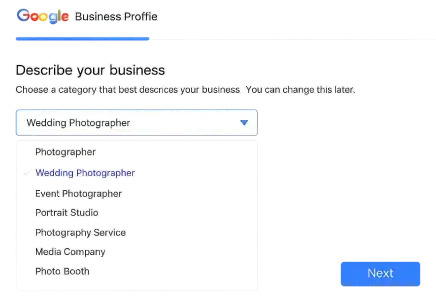
Pick the most accurate category first: "Photographer," "Wedding Photographer," or "Portrait Photographer." You can add more categories later, but your primary category carries the most weight for local search.
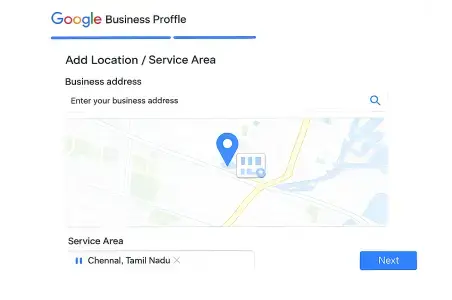
Add Your Location or Service Area
- Have a studio? Add your exact address so you show up on Maps.
- Travel to clients? Choose "service area business" and list the cities or regions you cover, instead of a physical address.
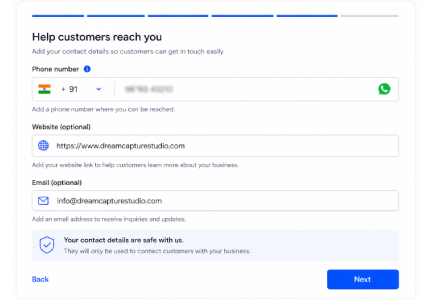
Add Contact Details
Add your phone number and website link. If most of your enquiries come through WhatsApp, make sure that number is easy to find, either as your primary contact or clearly mentioned in your business description.
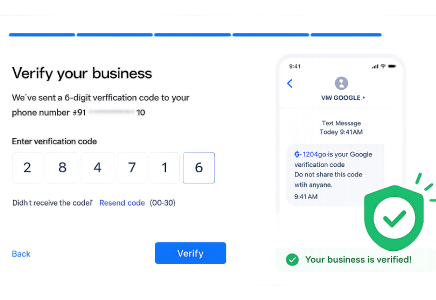
Verify Your Business
Google needs to confirm you're a real business before your profile goes live. Depending on your account, you'll verify by:
- Phone or email (instant, for most small businesses)
- Postcard by mail (takes 5–7 days)
- Video verification (for service-area businesses without a storefront)
Don't skip this: an unverified profile won't show up properly in search or Maps.
Fill Out Your Profile Completely
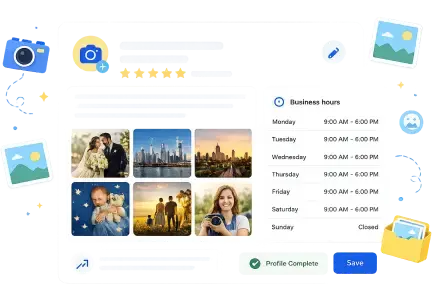
This is where most photographers stop too early, and it costs them visibility. Fill in:
- Business hours (even "by appointment only" is better than blank)
- Services offered (wedding, candid, baby shower, corporate events, etc.)
- Description: mention your city and specialty naturally, e.g. "Wedding and candid photographer based in Madurai."
- Photos: upload your logo, a cover photo and 10–15 of your best shots across different event types
Get Your Review Link and Start Collecting Reviews
Go to your profile, click "Ask for reviews," and copy the link. Send it to happy clients right after their event; timing matters, since this is when they're most likely to leave a genuine, detailed review. More reviews (and replying to them) build trust and push you higher in local search.

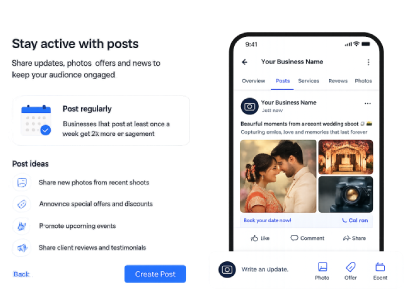
Post Updates Regularly
Treat your profile like a mini social feed. Post recent work, offers, or festive season availability using the "Add update" option. Profiles that stay active tend to rank better than ones that are set up once and forgotten.
A Quick Checklist Before You're Done
Don't Have the Time to Do This Yourself?
Setting this up properly, and keeping it updated every month with new photos, reviews and posts, takes ongoing effort most photographers don't have time for between shoots. If you'd rather have it handled for you, Photomall's Google Business Profile setup and management service sets it up, verifies it and keeps it active so you can focus on shooting, not on admin.
Get Started with Photomall