गैलरी
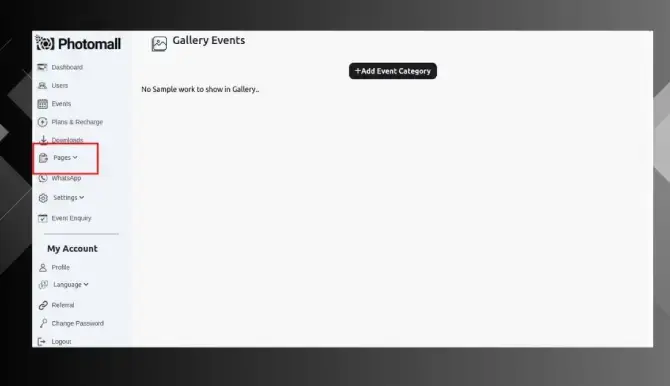
- Step 1: In the Side menu , click "Pages" and a dropdown menu will appear. From that menu, select Gallery option.
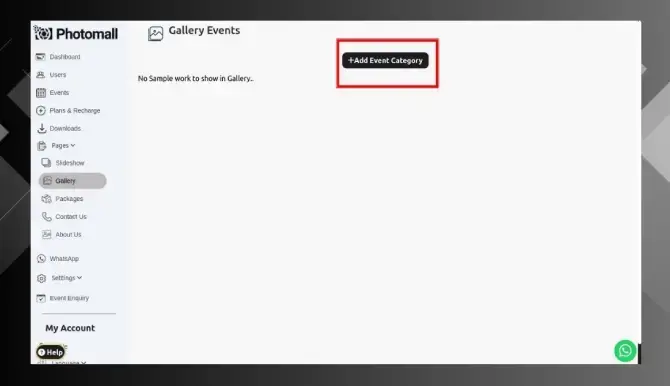
- Step 2: Click Add Event Category Button.
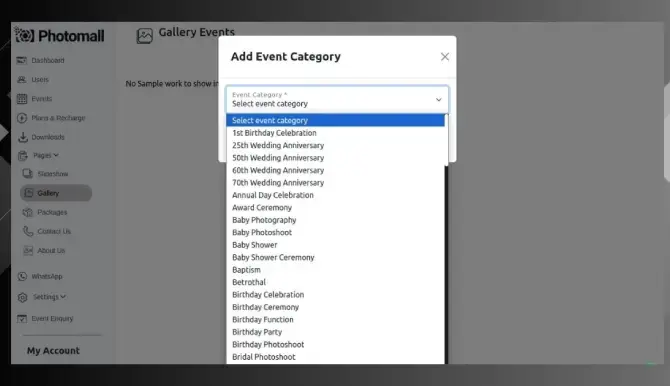
- Step 3: A popup will appear
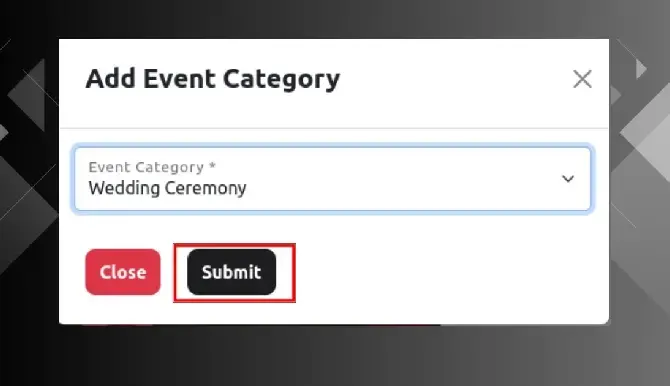
- Step 4: Select the Event Category from the drop-down list and click Submit, then a Gallery Event will be created.
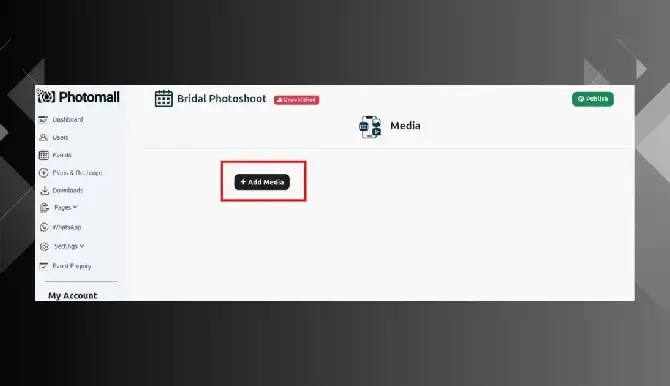
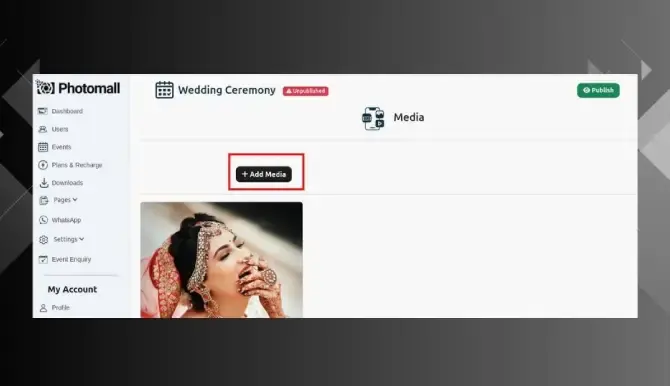
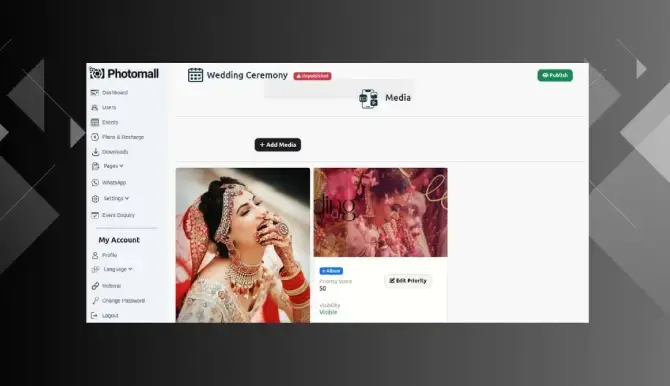
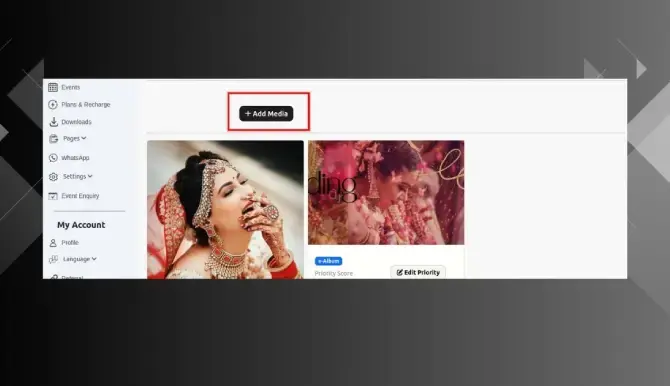
- Step 5: In Gallery Event page, click Add Media Button .
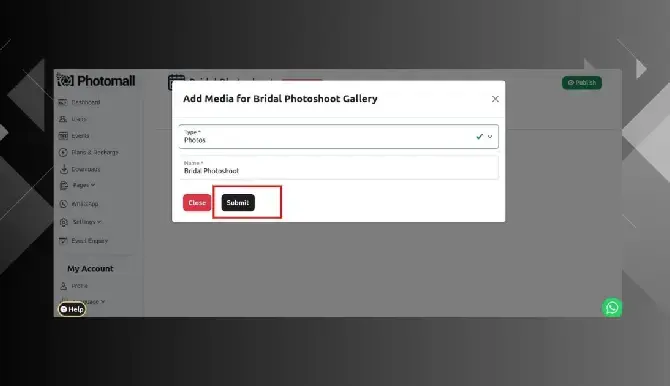
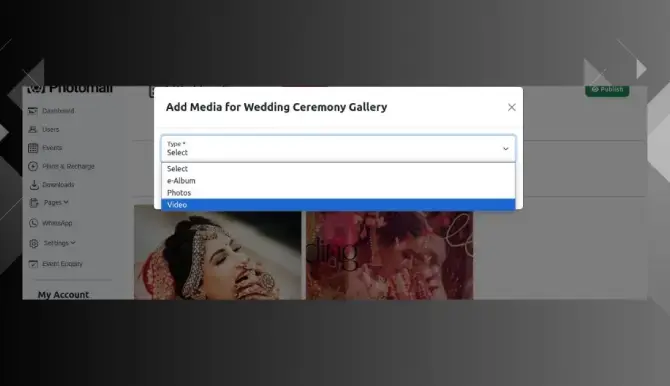
- Step 6: A popup will appear, from that choose Photos and enter the folder name click submit button.
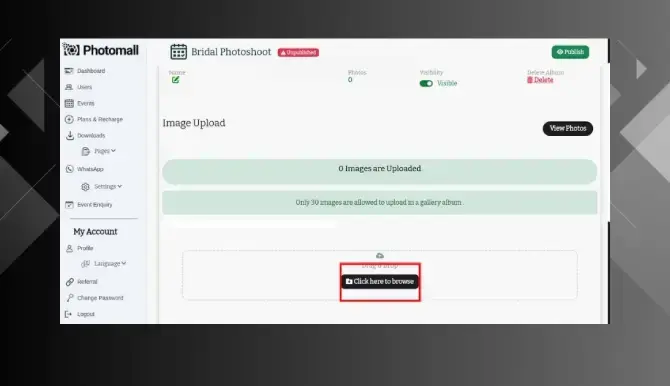
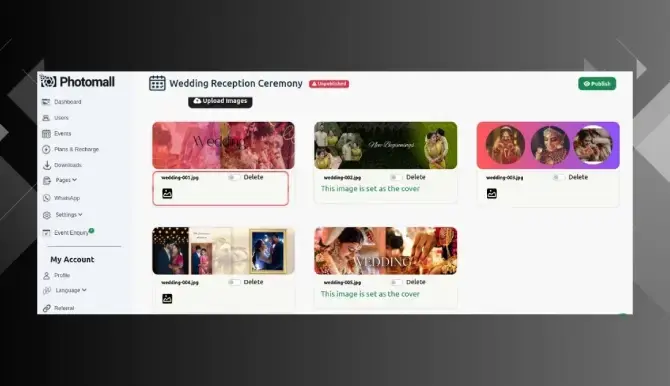
- Step 7: Scroll down and click upload images button.
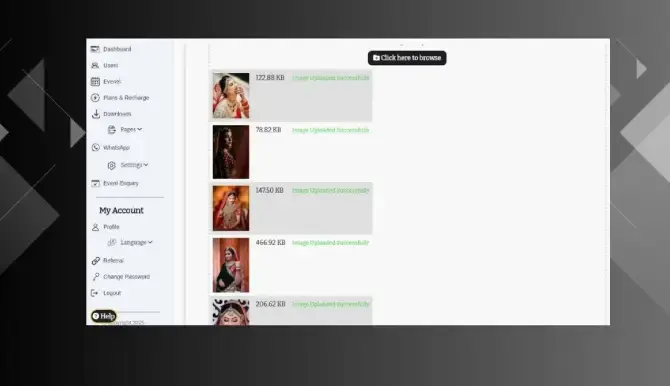
- Step 8: And then click ‘ Click here to browse button ‘.
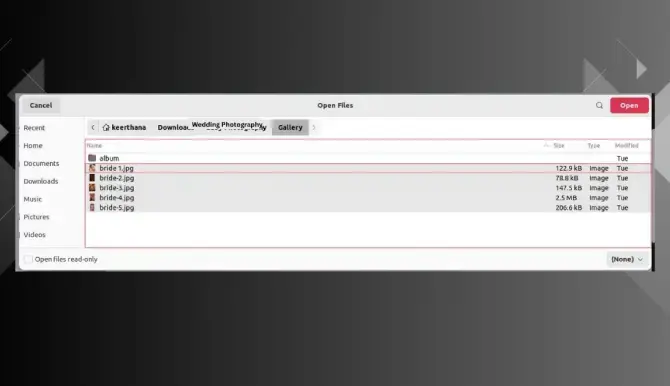
- Step 9: Upload the photos from your folder or drag and drop the images.
- Step 10: The Photos will upload successfully.
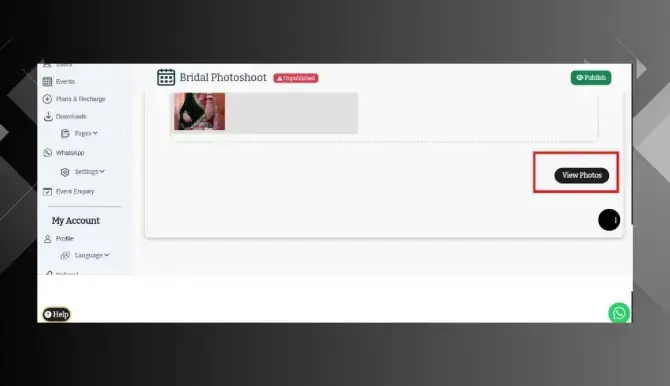
- Step 11: Once the photos are uploaded, click the "View Photos" button to check if all photos have been uploaded correctly .
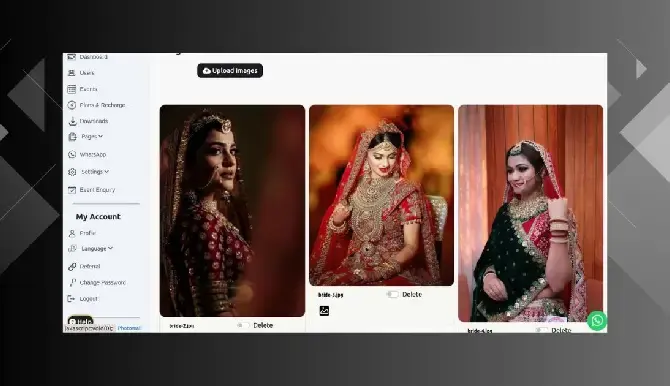
- Step 12: All uploaded photos will be displayed here .
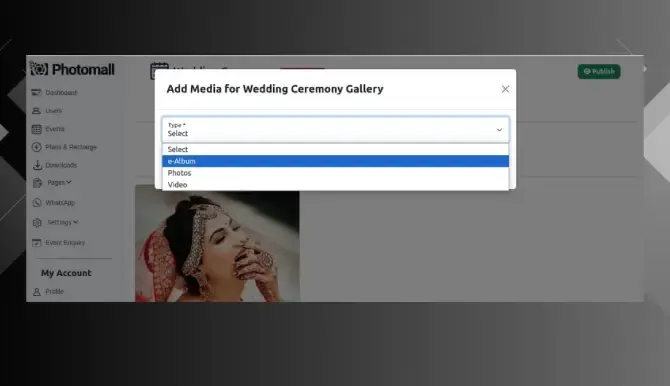
- Step 13: And again click ‘ Add Media ‘ to upload e-Album.
- Step 14: Select e- Album in the drop down menu.
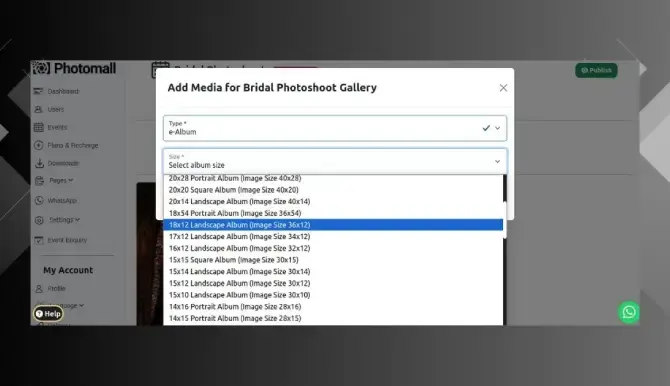
- Step 15: Then, select the album size from the size menu bar and click Submit button
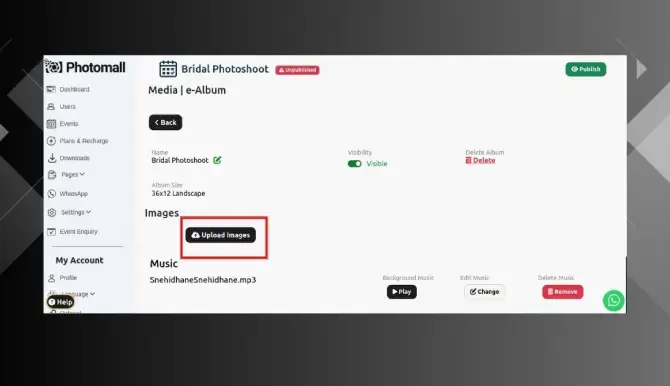
- Step 16: Click upload images button.
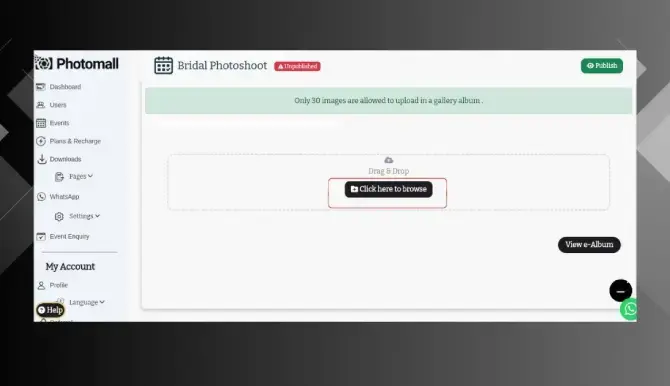
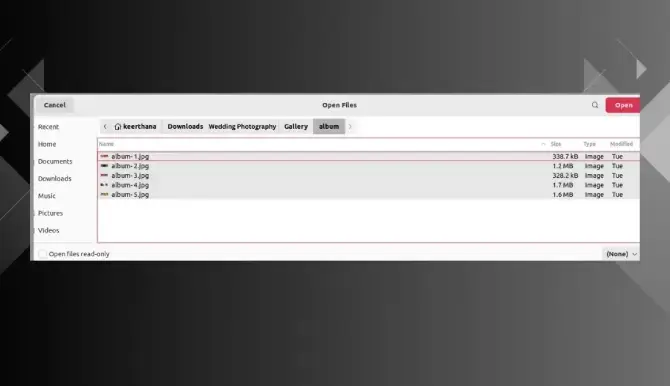
- Step 17: And then click ‘ Click here to browse button ‘.
- Step 18: Directly use the Drag & Drop option to upload Images. [OR] Use the Click here to browse button to upload images..
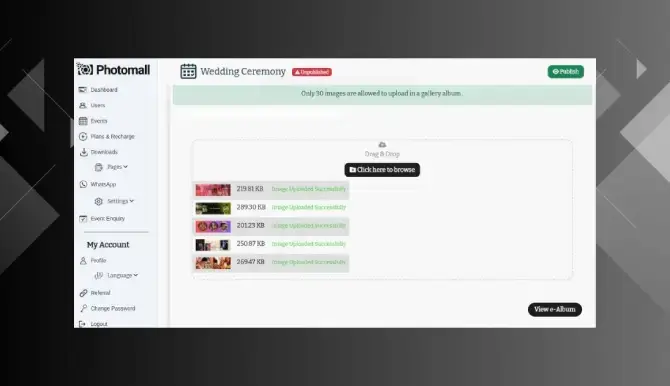
- Step 19: The album will upload successfully.
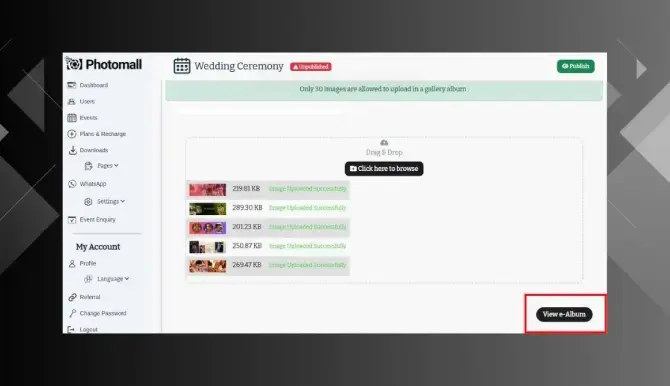
- Step 20: Once the album is uploaded, click the "View album" button and the page will show all the images uploaded
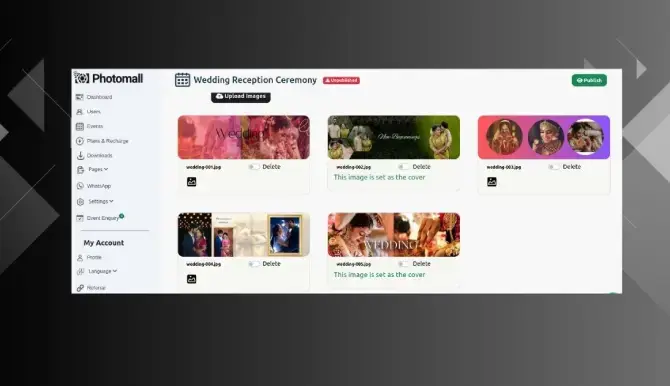
- Step 21: All uploaded album sheets will be displayed here.
- Step 22: If you want to change your album's cover image, you can use the 'Use as a Cover Image' option here.
- Step 23: If you want to change the music, click the "Change"button.If you want to delete the music, click the "Remove" button.
- Step 24: e- Album will appear here.
- Step 25: Click ’ Add Media Button ‘ to upload event video .
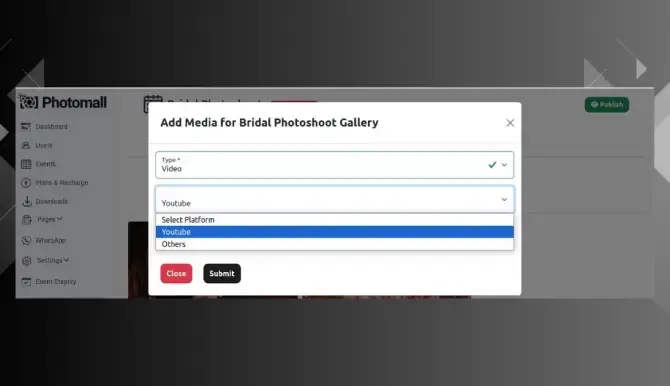
- Step 26: Select Video in the drop down menu.
- Step 27: Select Youtube or others in the platform menu..
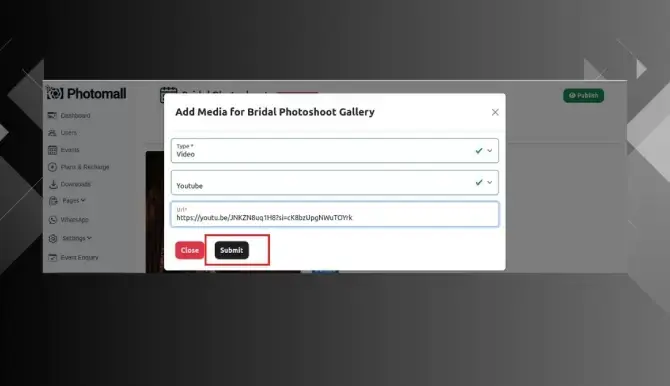
- Step 28: Provide your YouTube video link or other event video link in the URL menu and click ‘ Submit ‘ button.
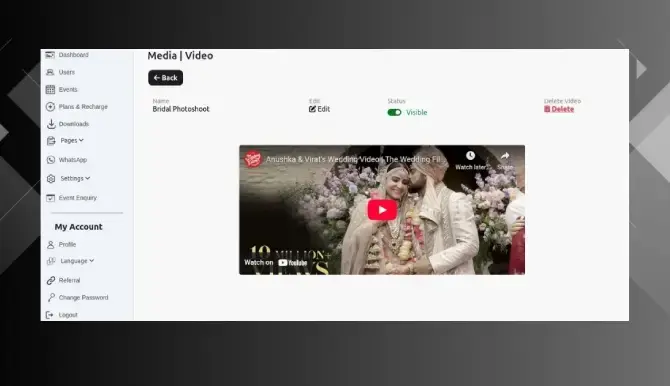
- Step 29: Your event video has been uploaded successfully.
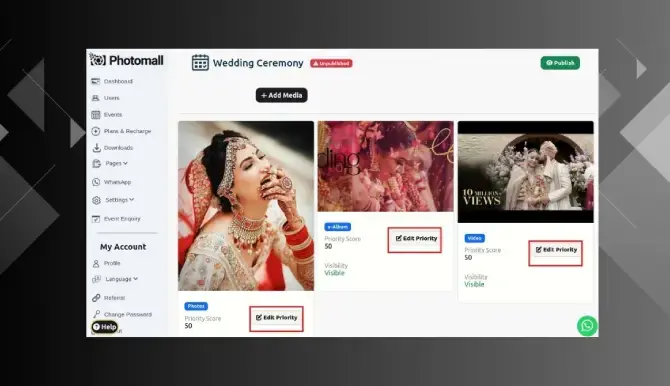
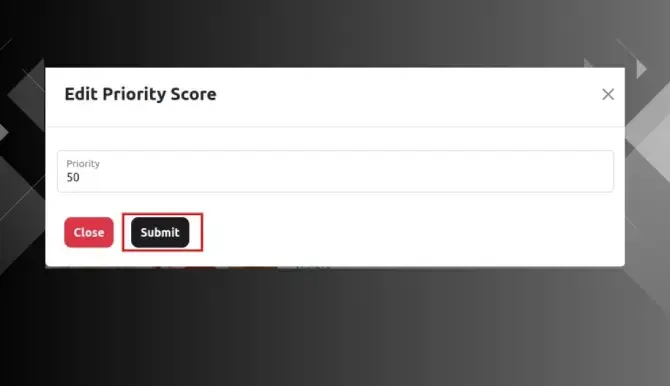
- Step 30: You can set a priority for each photo, video, and e-album by clicking the "Edit Priority" button.
- Step 31: Enter the priority, then click the "Submit" button.
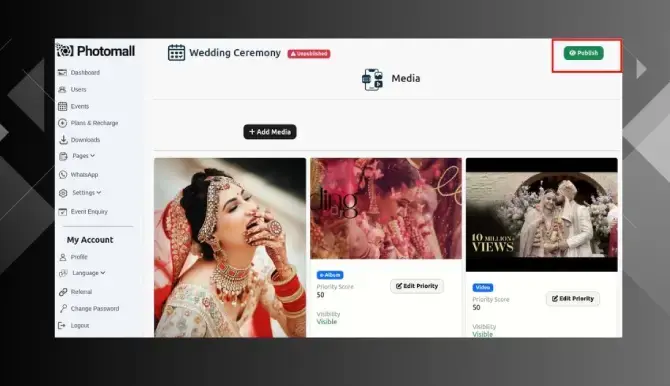
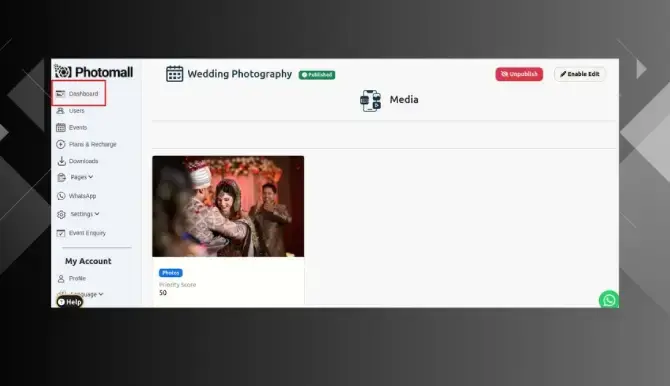
- Step 32: After the images are uploaded in the gallery event, click “Publish” to allow the customer to view the gallery event. .
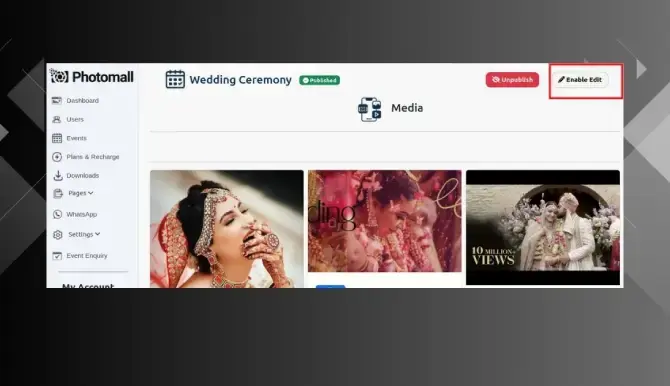
- Step 33: Click "Enable Edit" to carry out any changes in the gallery event.
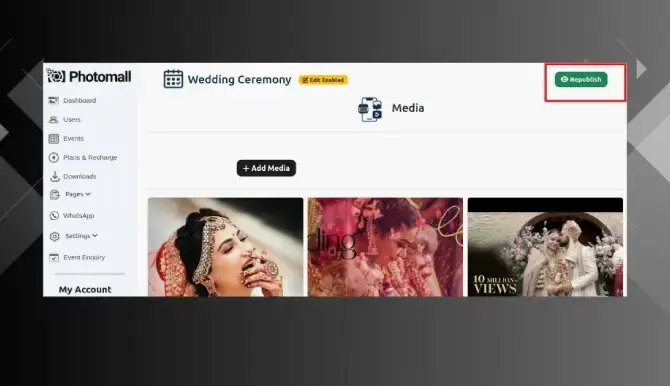
- Step 34: Once you click “Enable Edit” it will change automatically into “Republish”. Note: If you click "republish", the gallery event will be visible to the customer again .
- Step 35: If you want to see your uploaded photo, album , video, click dashboard on left side.
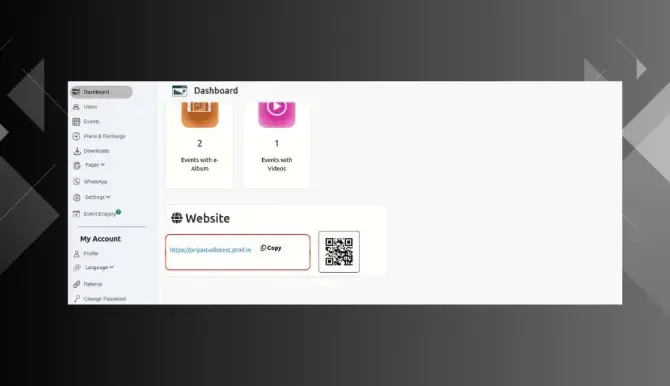
- Step 36: Scroll down, and click the website link.
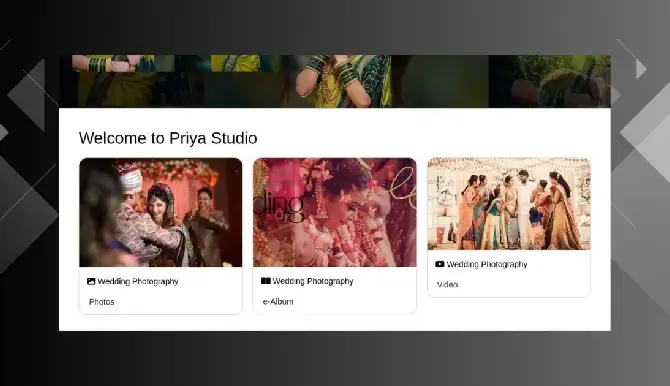
- Step 37: Uploaded photos , videos, e-album will appear in your website.